Speak with an Instrument Expert during business hours!
Business Hours:
Mon-Fri: 8:30am - 5:00pm
Sat-Sun: Closed
You Call, We Answer!
Chat with a real person
Email us directly
More Information
1-800-826-5482
contact@goldtone.com
Live Chat
Find A Dealer
Return Policy
Warranty Registration
Return Authorization (RA)
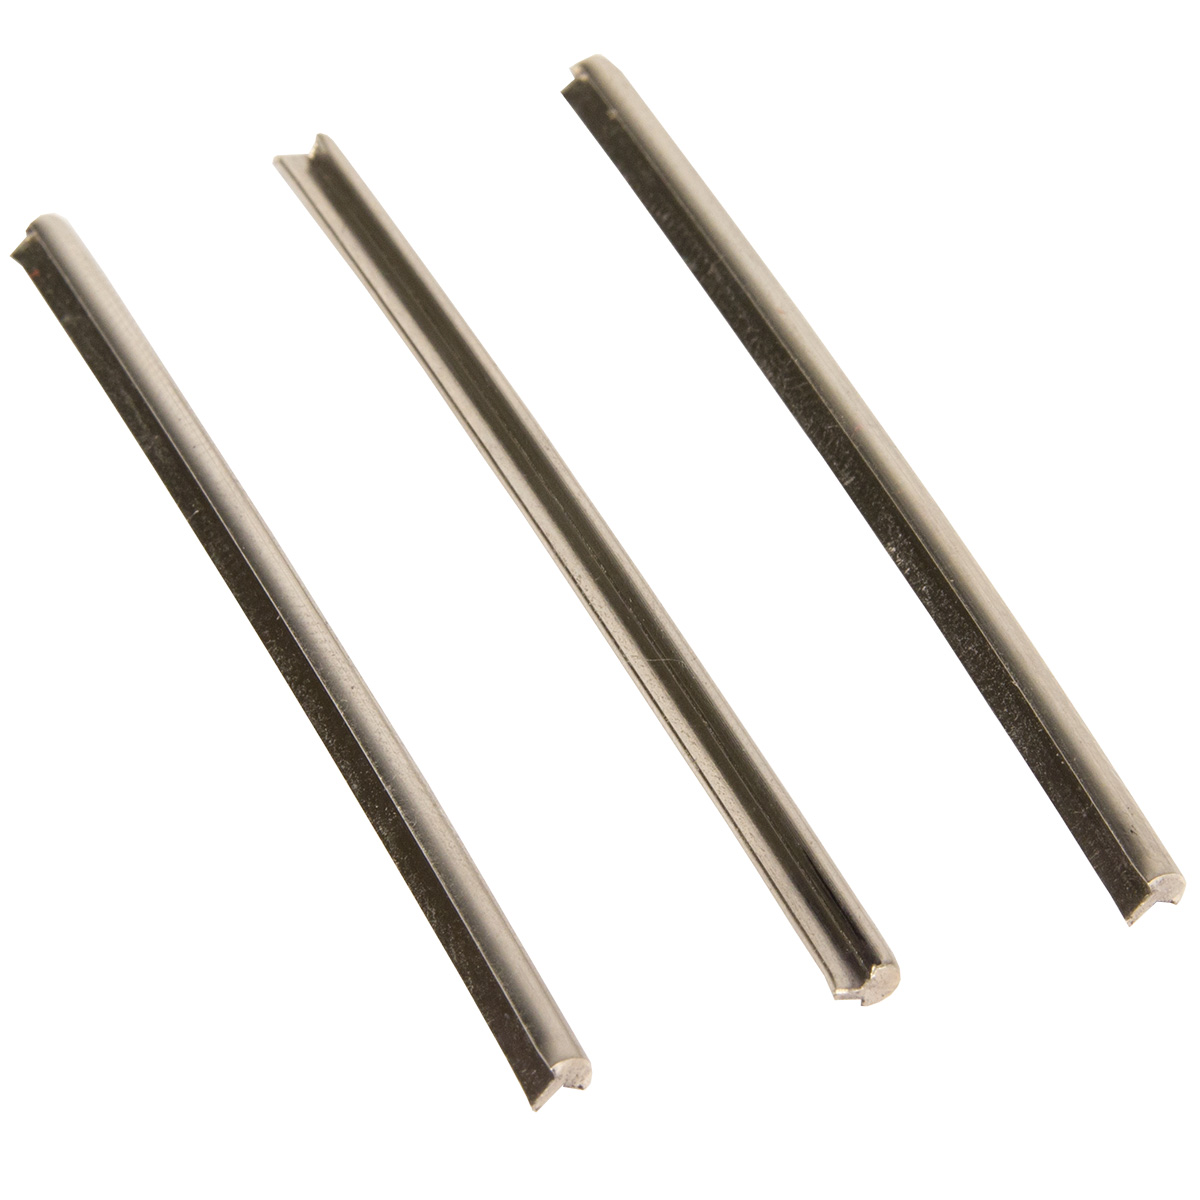
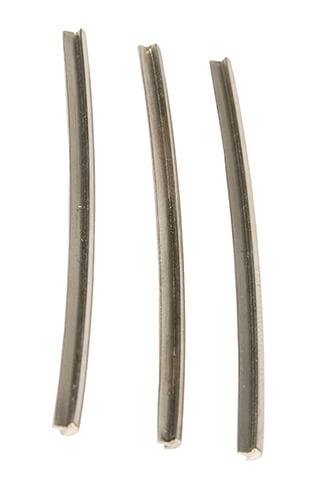
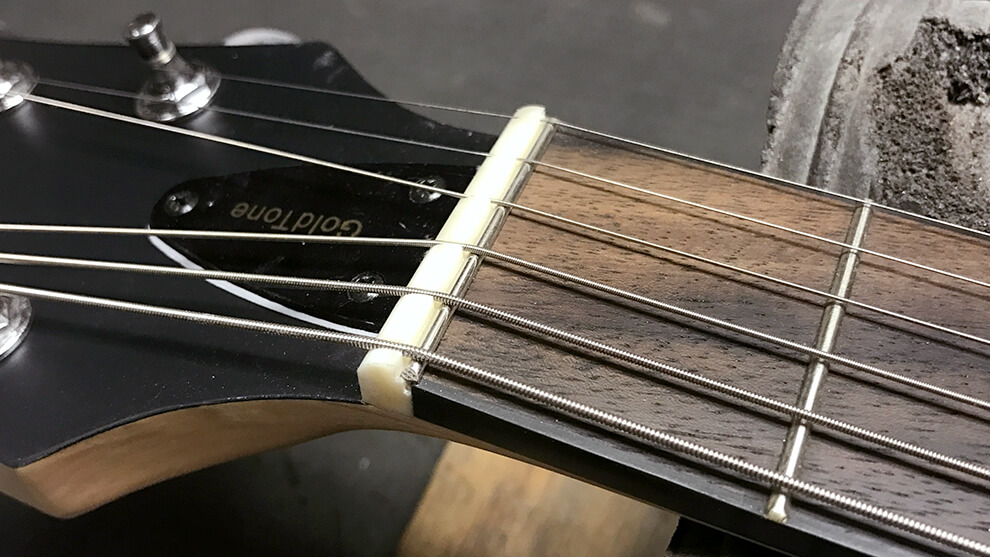
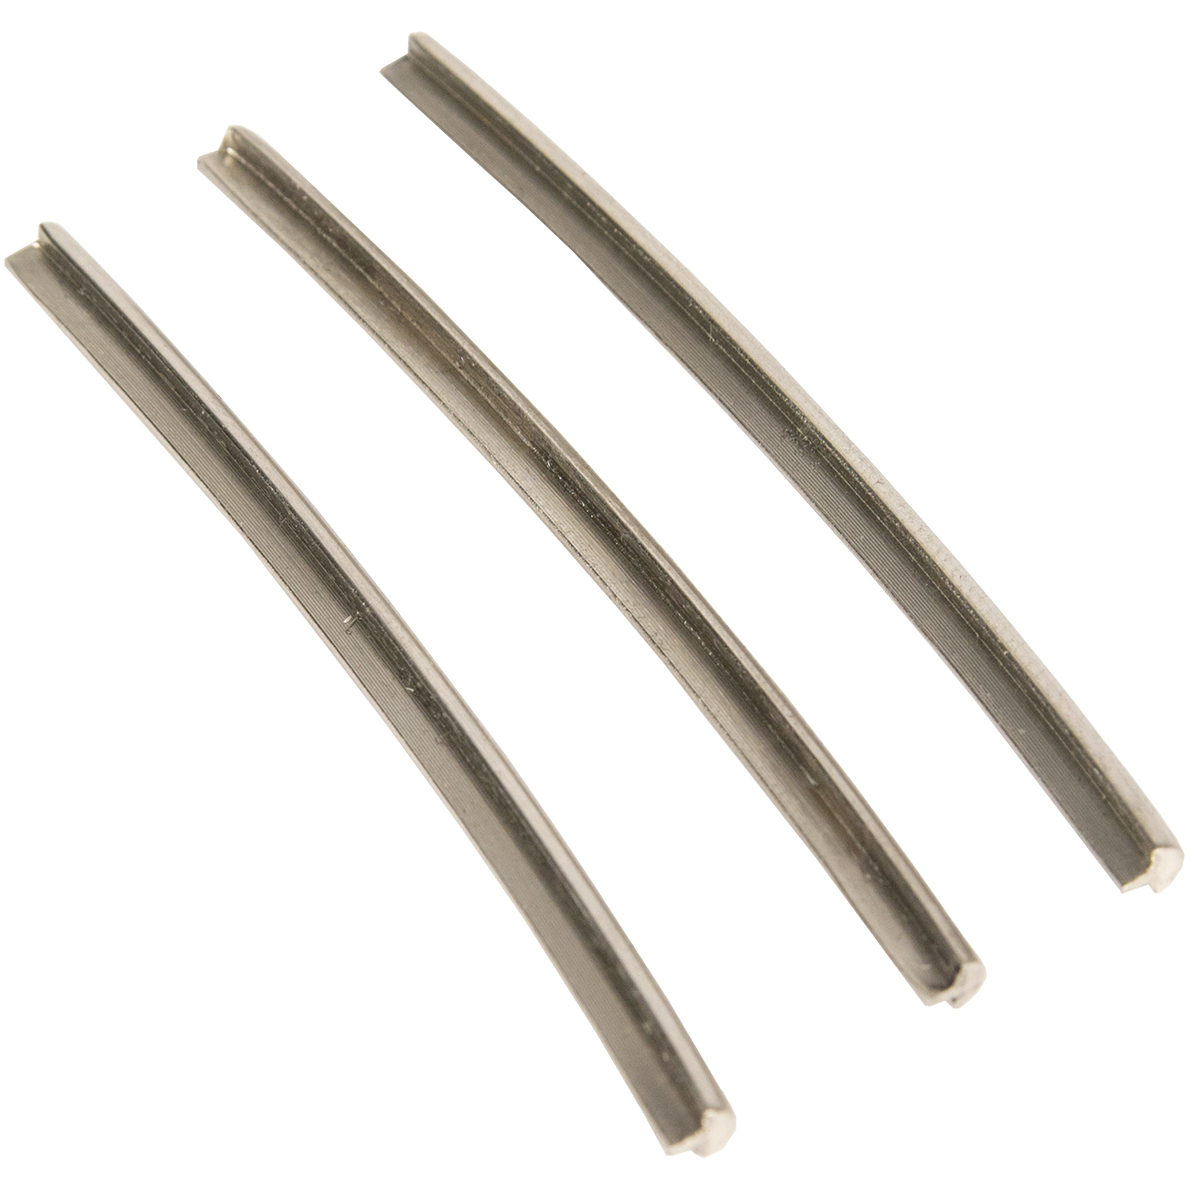
These replacement frets are specially designed with an offset tang for our Zero Glide nut system. Comes in a pack of 3.
Available in Low (.035"), Medium (.039"), High (.043"), Jumbo (.051"), Super Jumbo (.057").

My old nut was too high. And I didn't want to buy 6 nut files. This Zero glide was much, MUCH cheaper, and it was an easy instal. I taped some 400 grit sandpaper to a plank I had laying around. Sand sand sand, check the fit, repeat. I tried each fret it came with and chose the jumbo. I consider this a major upgrade to my home built super strat.

works like a charm for the stuff I do at weekend gigs,from flutter trem to dive whammy , but most of all, I no longer hear that creaking sound by the nut when using my tremolo and it stays in tune well along with my Wilkinson VSVG Tremolo.
Easy to install for me cause I work for two guitar shops on a on/off basis and am use to making bone nuts from scratch,so if you've never done guitar nut work before I suggest taking it to a well trusted guitar shop with a good tech. It does take patience if you want it to look like a pro and function the way its suppose to. Highly recommend it along with a Wilkinson VSVG and a high gear ratio tuners.. Be buying more soon for my other guitars....

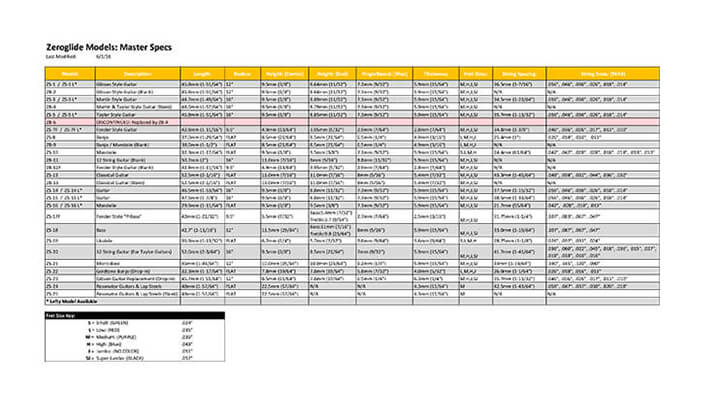
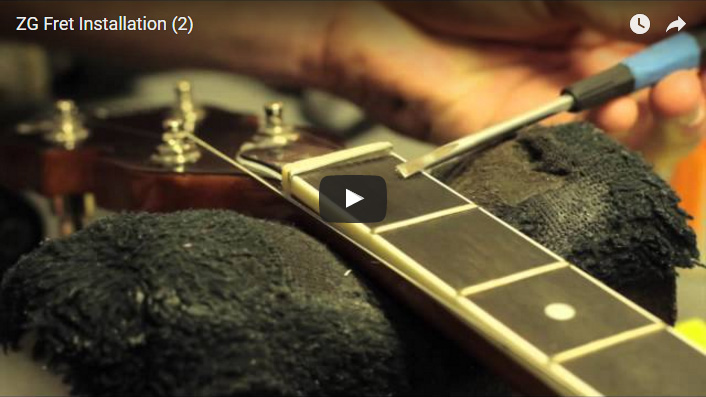
I purchased a '97 Squier Vista MusicMaster Bass locally. The stock plastic nut needed replacing or filing. I had already pulled the nut off of the MusicMaster and had all measurements noted before replacing the stock nut temporarily. The Zero Glide ZS-17F Precision Bass Precision Bass model specs matched up with the MusicMaster specs. Cool. After my Zero Glide arrived I pulled the stock nut and lightly sanded the nut slot on the fretboard with fine sandpaper to remove any debris or adhesive residue used on the stock nut. Next I slid the Zero Glide nut onto the fretboard. Nice snug fit. The width of the Zero Glide was perfect. My next step was to make sure that the top / flat surface of the nut was flush with the fretboard. This is crucial to allowing the fret to seat correctly on both the fretboard and the zero fret nut. On my MusicMaster this required a very thin shim under the Zero Glide nut. Once the nut was seated properly it was just a matter of selecting which of the fret sizes provided is required for the instrument. In my case this was the longest installation step time-wise. Once you have selected the proper fret, mark the fret and cut with the proper tool. Examine the cut end of the and correct any imperfections due to cutting on the tang of the fret by filing. A small bench top vise with padded jaws and high quality file makes this step a snap. Installation time in my case : - shimming me the nut, less than 10 minutes - selecting the correct fret size, 45 minutes - all filing on the fret ends and top corners of the nut, less than 15 minutes I'm very pleased with the results. The open string notes sound like fretted notes of course, and I was able to achieve noticeably lower action without fret buzz after a setup. I'm especially pleased with the improved note definition of the open E and A strings. I did not check the intonation with the stock nut on the 1st five or so frets before I installed the Zero Glide, but the intonation is fine on the lower frets. My order was processed and shipped promptly and Gold Tone customer service is excellent. Thanks for a great product !
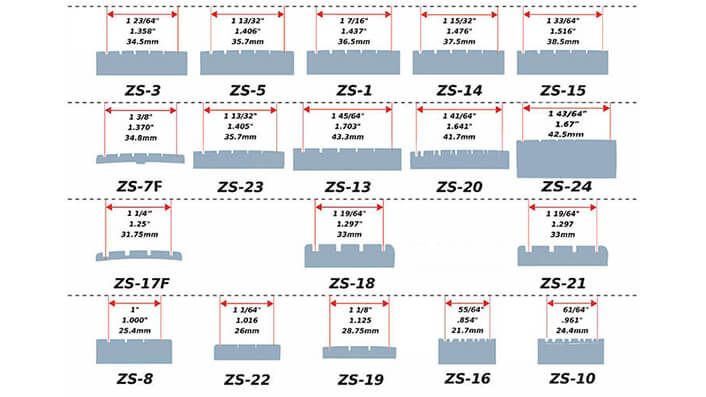
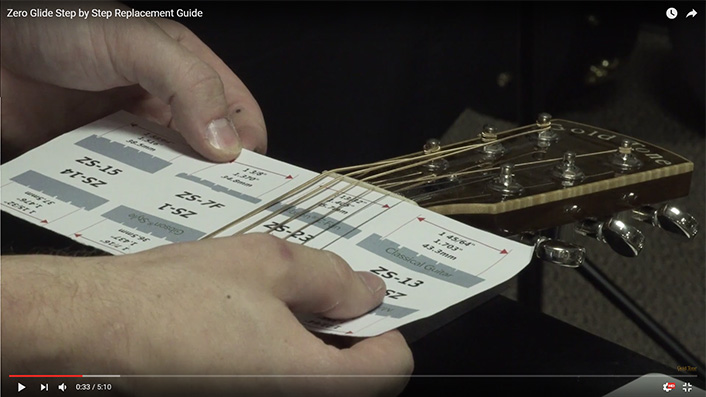
I have a Yamaha F310 and the nut was cut real high. Looking around on the internet I came across the ZerO Glide and decided to give it a try. It was less expensive that having the nut cut or purchasing the tools to do it. Printed out the sizing chart and found the ZS-5 had the correct spacing. In less than an hour my guitar felt and sounded great. This is one hell of a product and glad I made the purchase.