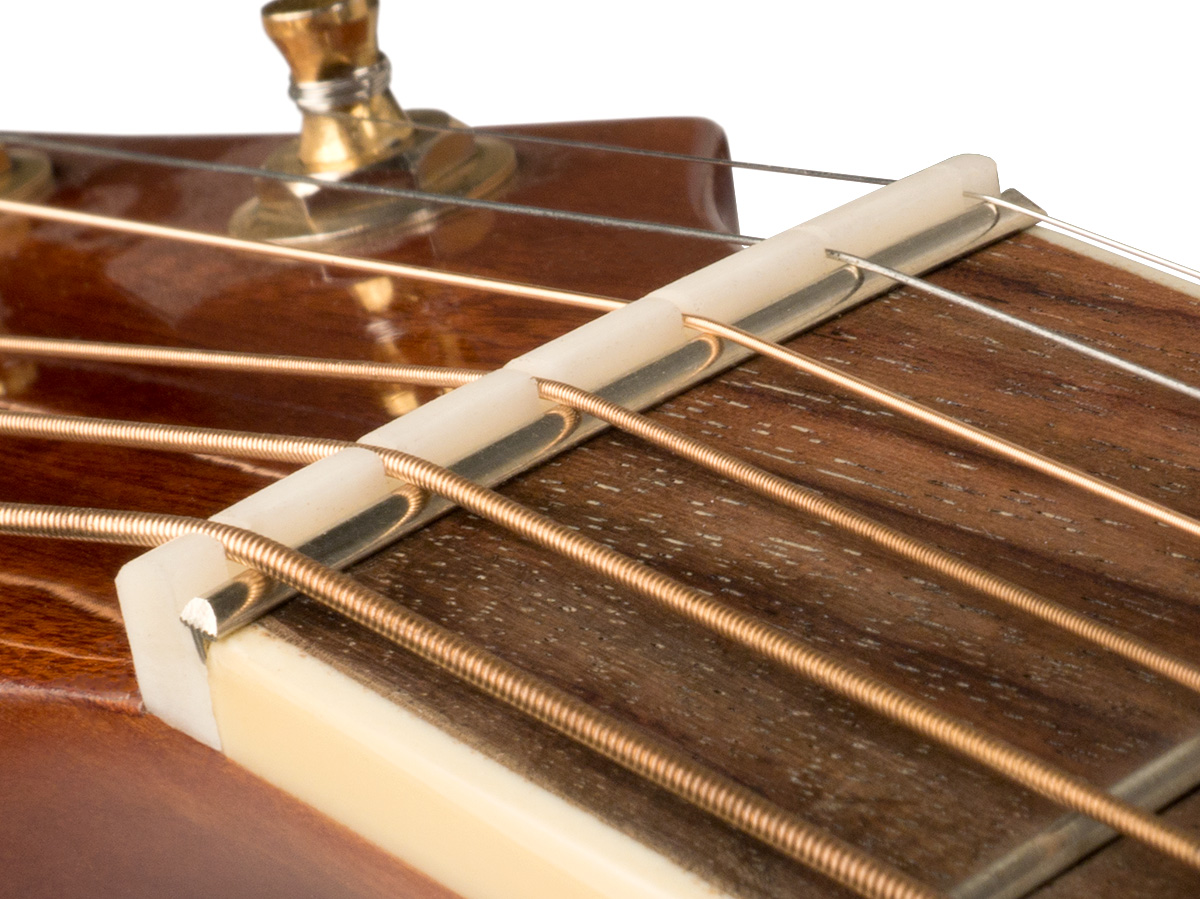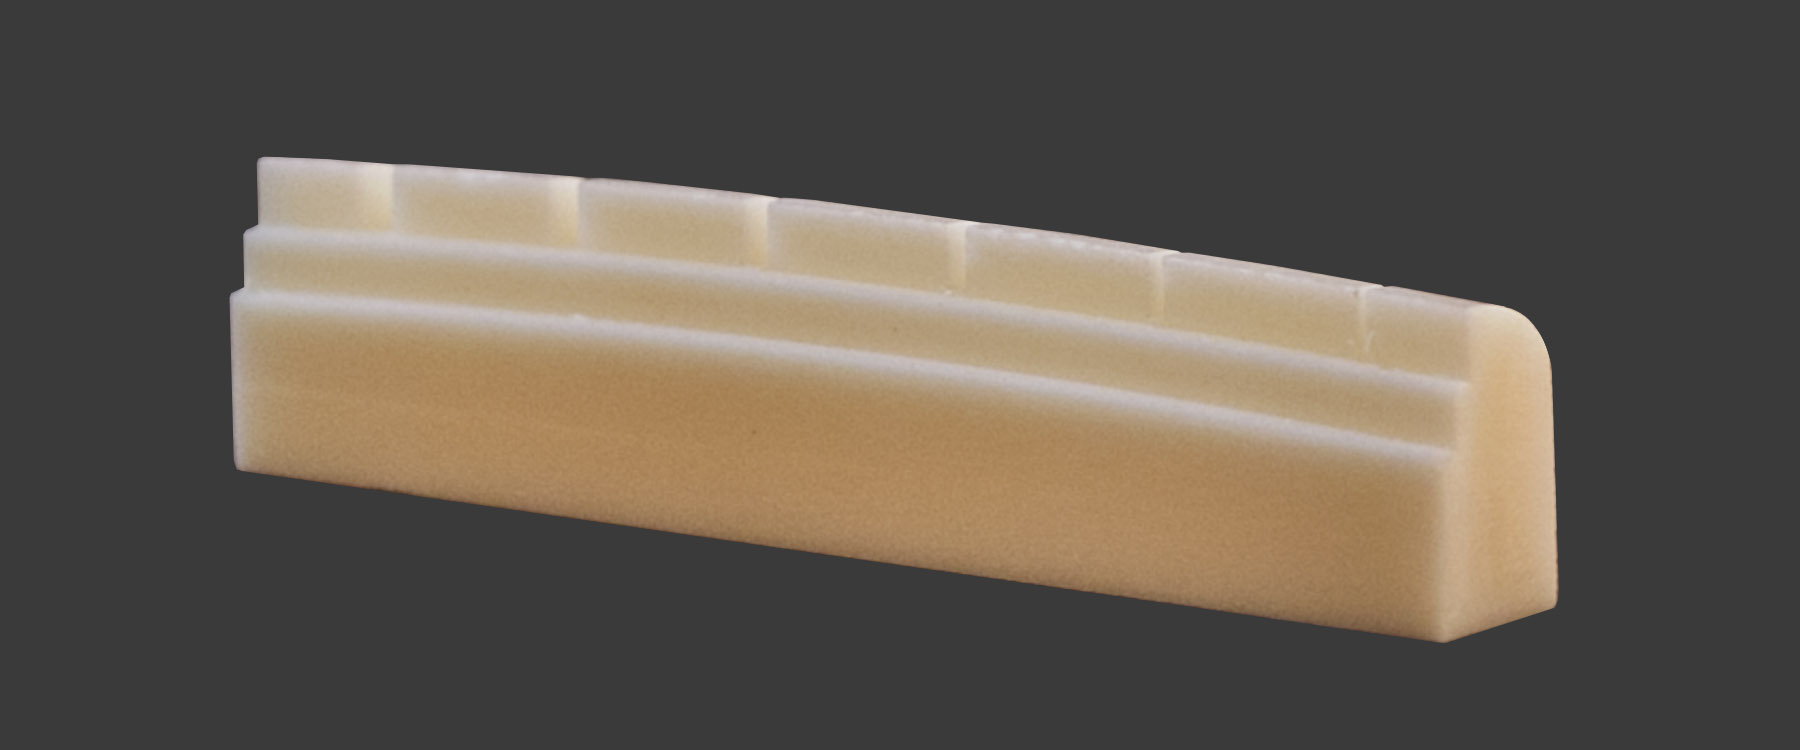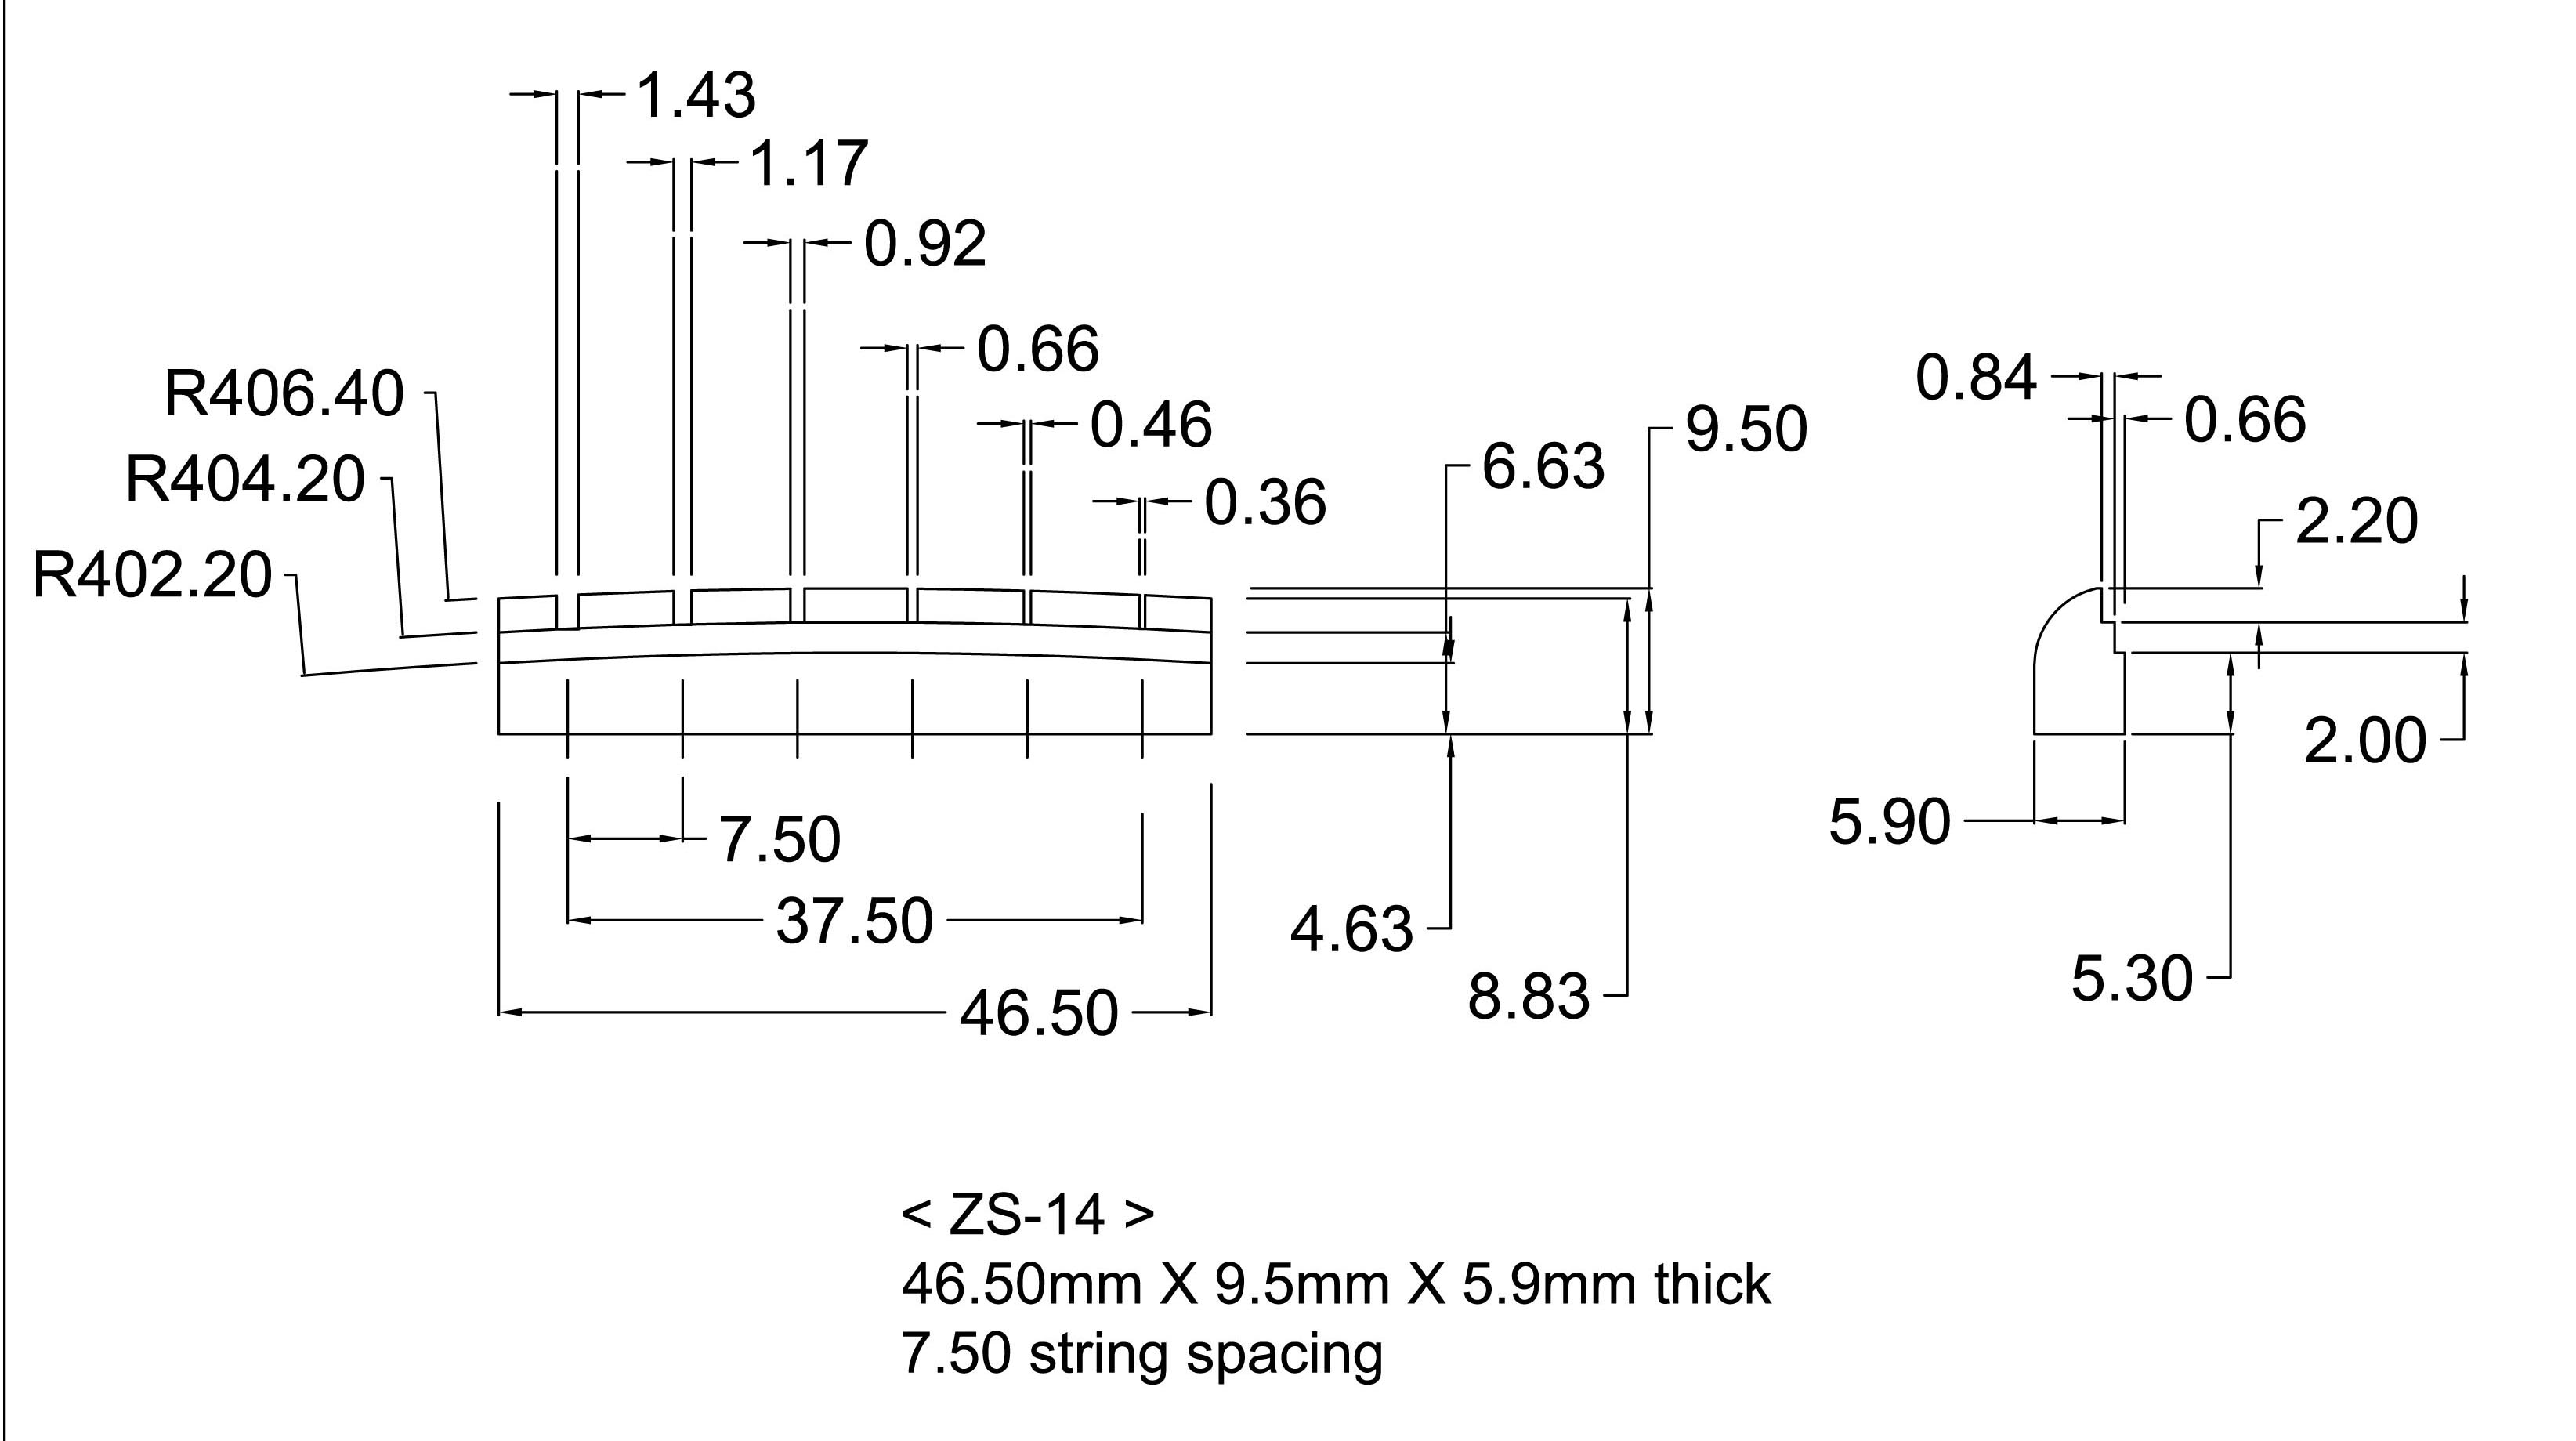


The Zero Glide Replacement Nut System borrows the "zero fret" concept to reduce string contact in the nut by up to 93%, increasing tuning stability, playability, and open string tone. It only takes a few minutes to install with absolutely no permanent alteration to your instrument. For Guitar.
Also available in Black Delrin.


I play fingerstyle guitar. My favorite guitar is a Gretsch 5420 Electromatic . For some reason the designers at Gretsch moved away from the zero fret. When You string up with 10's or 9's I guess it probably doesn't matter much because the first position will be easy with light gauge strings. My touch and style of playing requires .012's. With heavier strings while the 5420 is beautiful to see and hear the first position was challenging to play. I installed the zero glide following the instructions in the package and to my amazing pleasure the 5420 played like my '66 Nashville used to. I couldn't be happier. Thanks to the people that designed this product. The tone is great the tuning is improved and the first position action is second to none.


I've used this for over a month and I'm more happy now than when I first installed it. The intonation on my acoustic is better than it ever was...you can fine tune the saddle almost dead on for intonation. One suggestion.....be sure to glue in the zero fret with a few drops of glue once you get the guitar right. I was working on my guitar on and off for a month and didn't glue in the zero fret. I was taking the strings on and off. Every time you reinstall the zero fret it will be in a slightly different place. String against fret will cause a slightly different indentation in the zero fret. You want the string to stay in the same spot on the zero fret.


I installed this on an old Alvarez acoustic that used to belong to my Dad. The strings had started to buzz badly and the bridge height was maxed out so I knew it must be the nut. Took about an hour to cut down the new nut and shape with the Drexel tool; sided/polished the frets and installed glide nut with the tallest feet wire. Worked like a charm and no more buzzing. Even lowed the bridge down to a reasonable height as well. Great product and easy to install.


I bought two of these, one Gibson-style and one Fender-style for two of my favorite project guitars, an Epiphone LPX and my Jazz-O-Caster parts guitar. The Gibson was a near drop-in, needing only some trimming and shaping for a perfect fit. The Fender was slightly more challenging, as the neck on the Jazz-O-Caster never saw the inside of any Fender-approved factory! It required a 1/32" shim underneath for a proper fit, and some sanding to make room for the tang. There was a marked increase in the brightness of tone for both instruments, as well as improved intonation. This is MUCH easier than installing a traditional nut, and nearly foolproof IF you follow the instructions. Thanks, Stewart-Macdonald, for stocking such a well-engineered product.


I wrote another review about Zero Glide and my Gold Tone OB 150 banjo. As many already know the Zero Glide Nut is standard equipment on the OB 150 banjo. Gold Tone has this nut on other instruments too. I like this nut system for a lot of reasons. I installed a Zero Glide nut on my Martin D custom and I even installed a Zero Glide on my Washburn M3SWK F body mandolin. Those stock plastic nuts on many of the entry level pro instruments just does not cut it. You are cheating yourself and your audience out of a lot of tone and sweetness that ears should be hearing. The Zero Glide nut does a world of wonders for my instruments. Do yourself a favor and get one on your axe. You may love it. I know I do. I am addicted to Zero Glide.