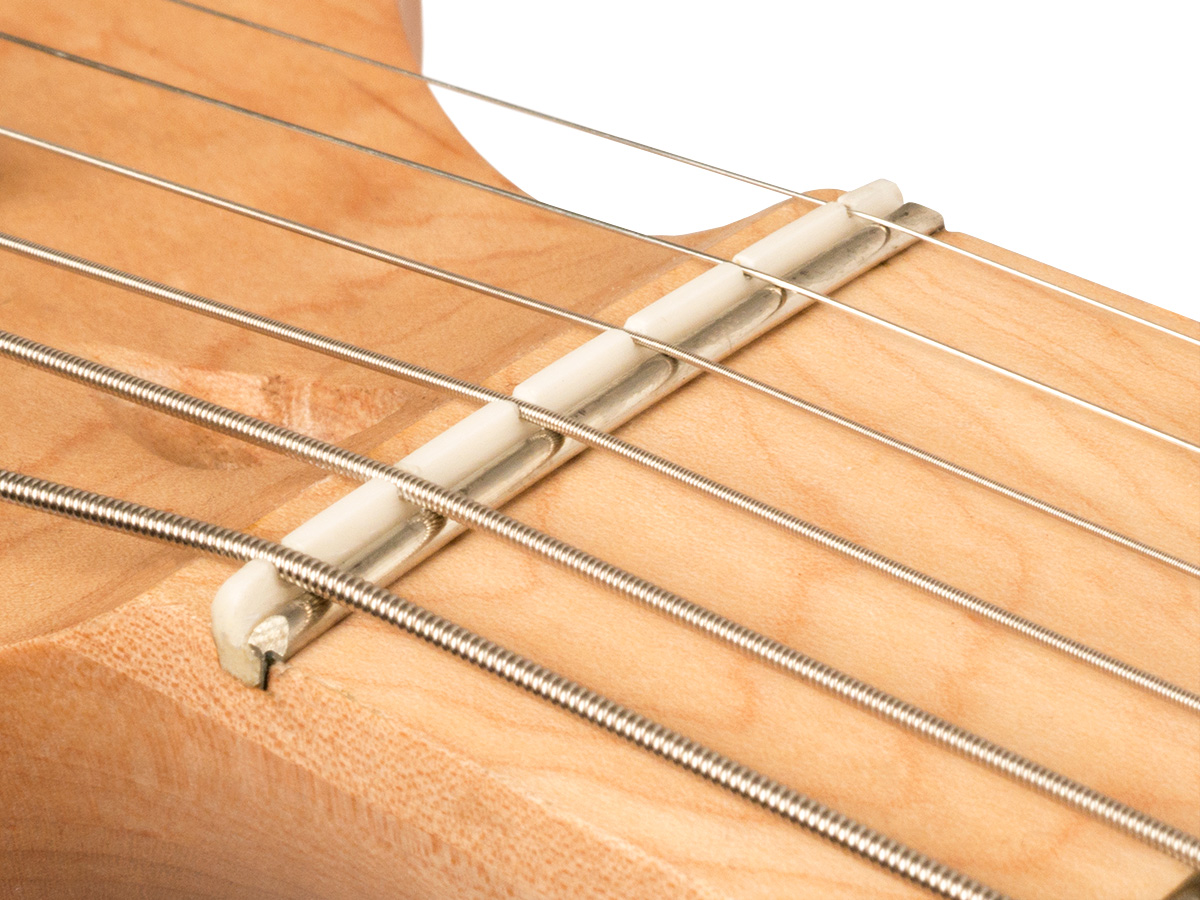
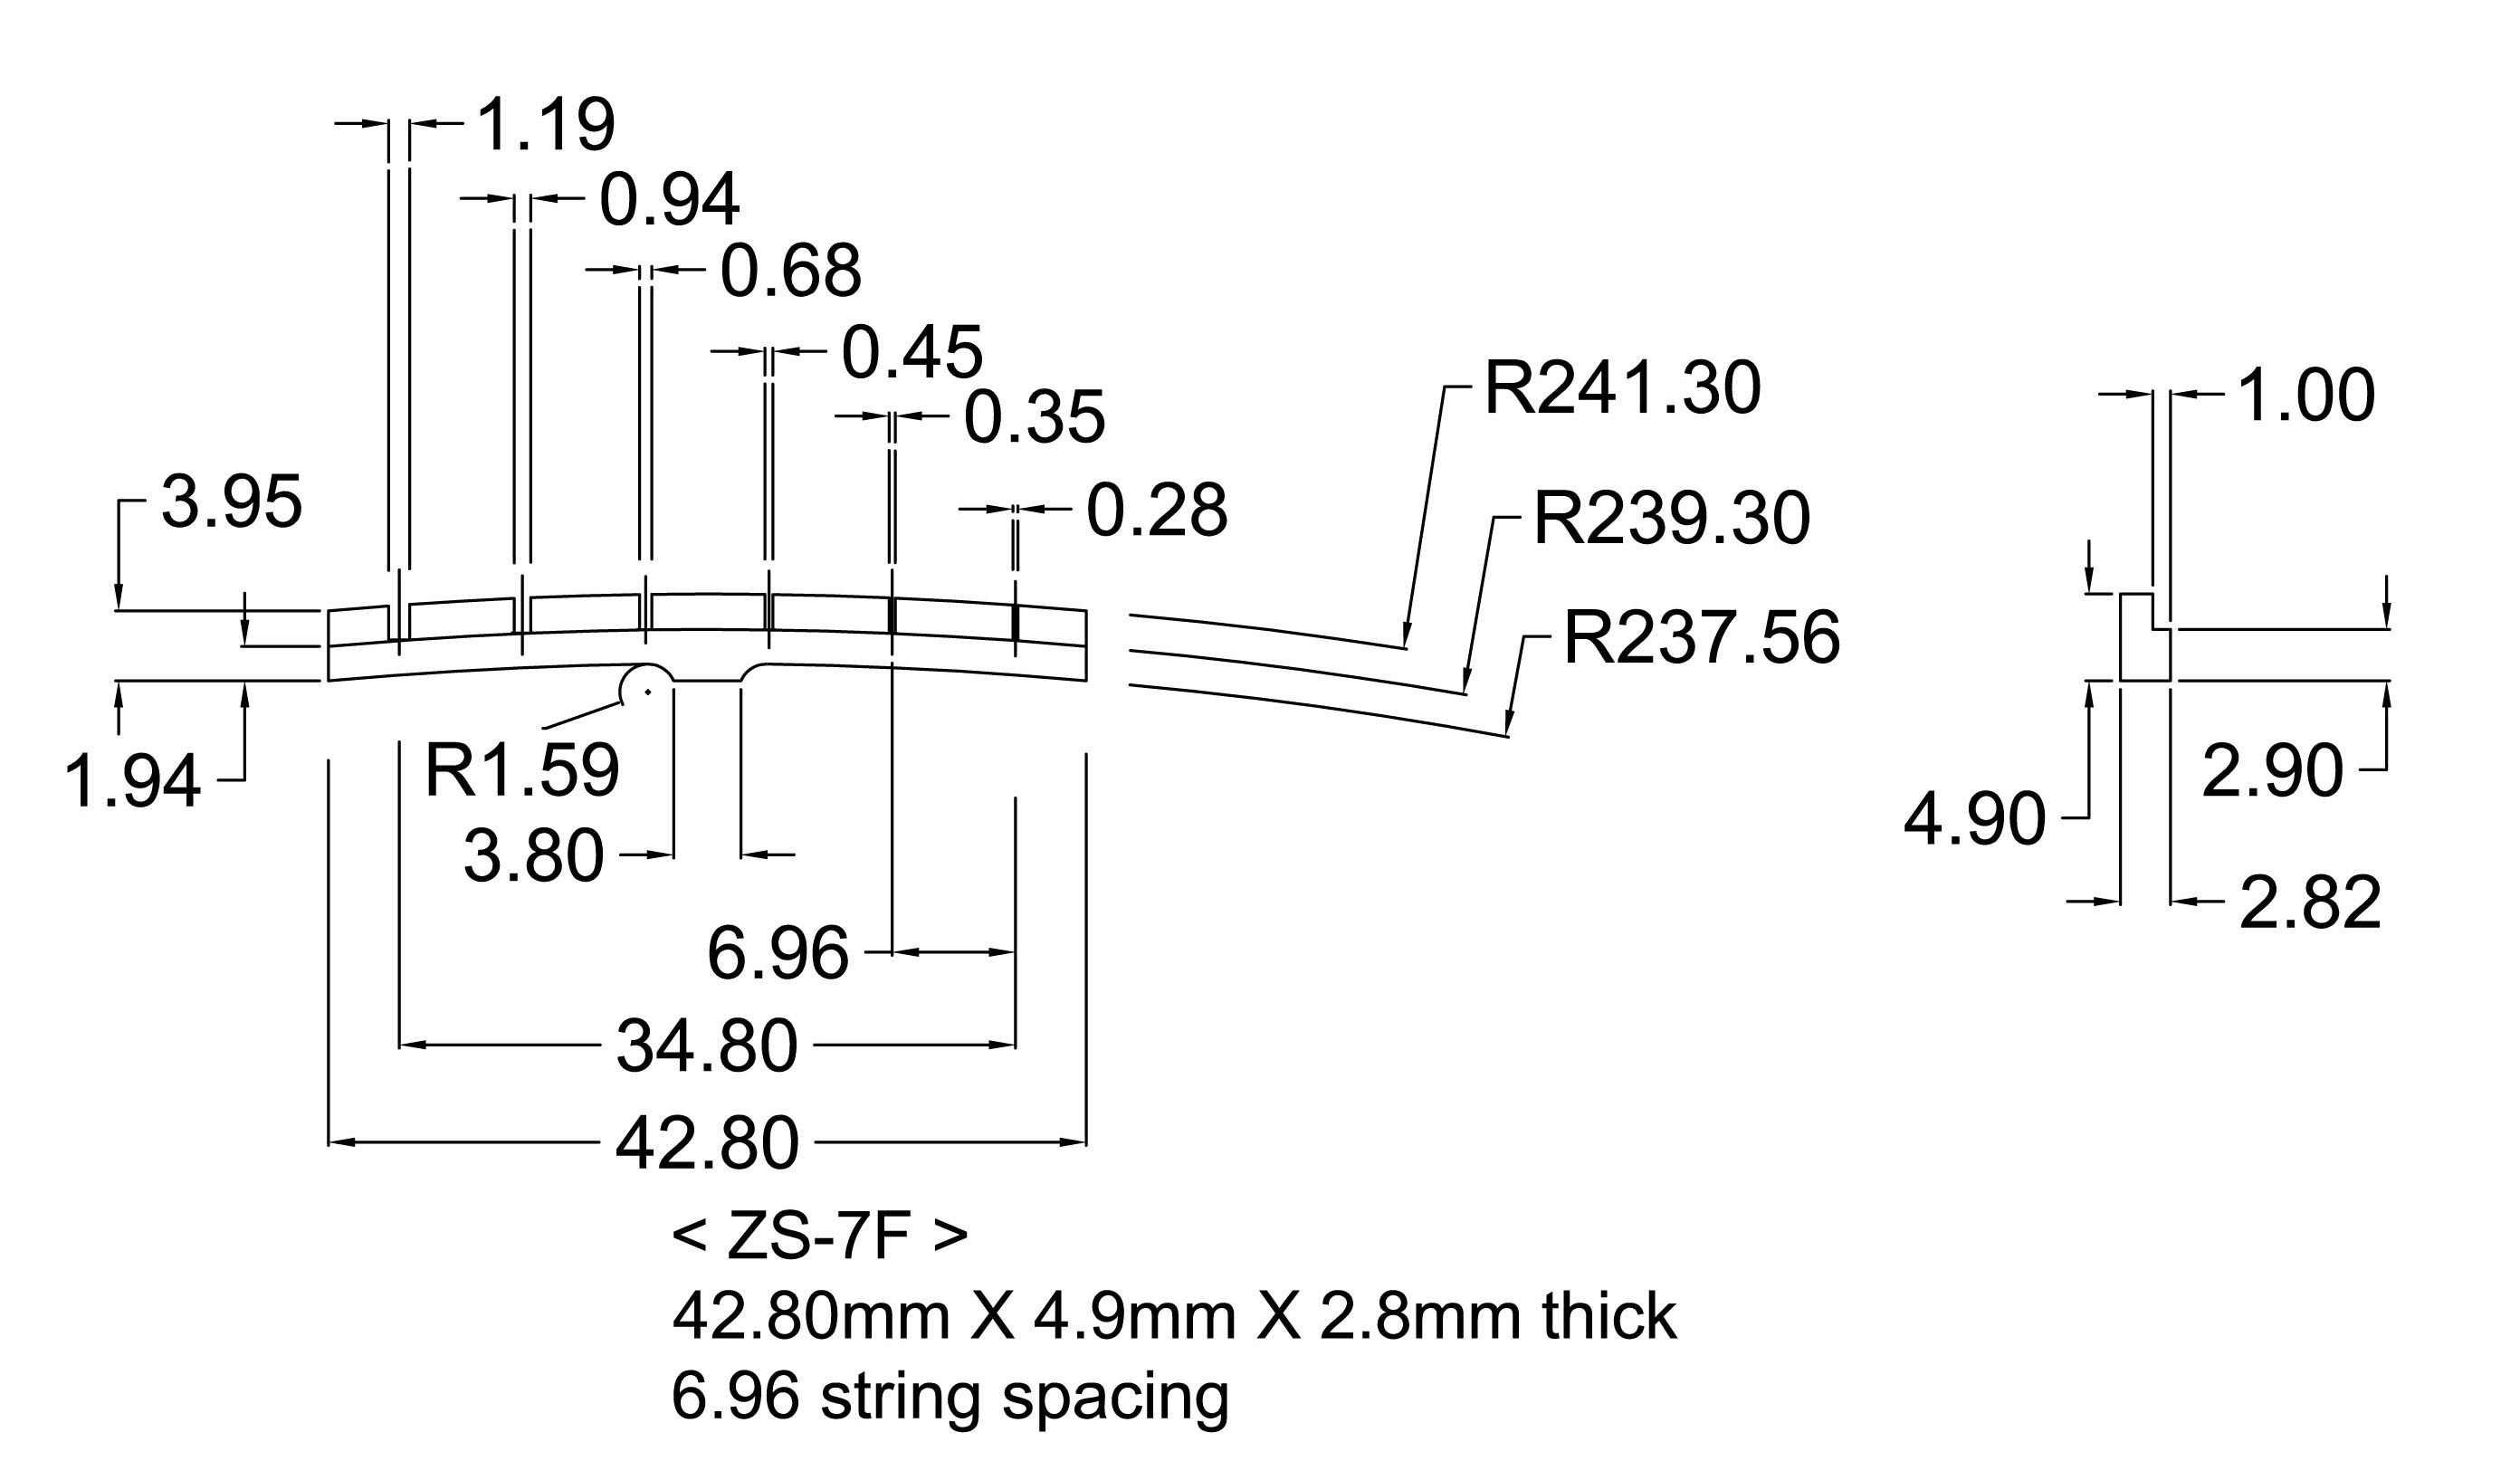
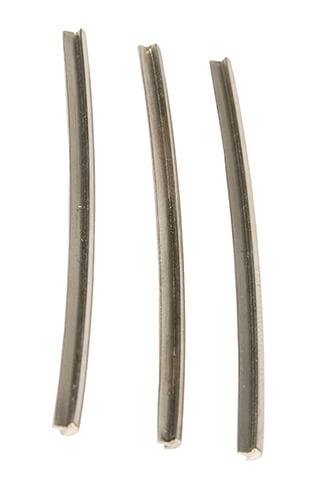
The Zero Glide Replacement Nut System borrows the "zero fret" concept to reduce string contact in the nut by up to 93%, increasing tuning stability, playability, and open string tone. It only takes a few minutes to install with absolutely no permanent alteration to your instrument. For Fender Style Guitar.
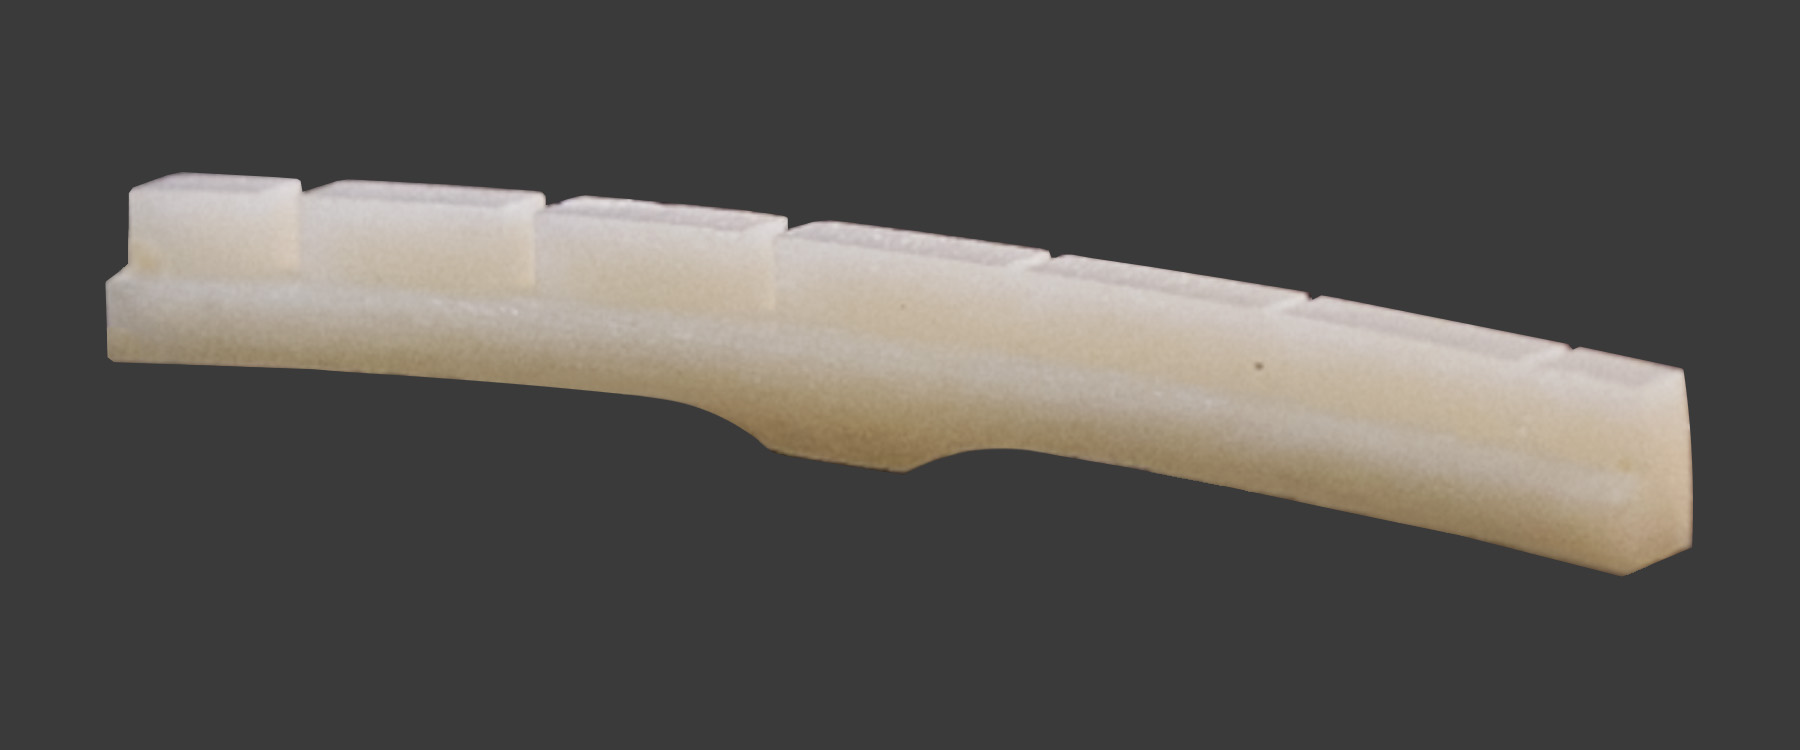
*The ZS-7F is designed to fit either a flat or radiused nut shelf. Leave the middle nub for flat, or sand it down for a radius.
Also available in Black Delrin.
Note: May not fit specific models. Check the sizing guide to be sure.
I was having a very hard time finding the right nut replacement for my mandolin. Finally found this one at StewMac. Have never used the zero glide before, but this one works great. Had a good deal of sanding to do for a perfect fit, but it works great and sound is super on my mando. Thanks guys!!
I just installed a Zero Glide Nut on my '14 Les Paul Studio. I was having trouble with the traditional *tink* and tuning issues often associated with Gibsons. Initially, I was going to try the new titanium nut made by Gibson but was told that it would not fit my '14 Les Paul. Keep in mind, I have never installed a nut before on a guitar where I needed to remove the old one. I had only fixed broken nuts in the past. I say this because I had a little anxiety when I decided to install the nut myself. The first thing I noticed was how much extra material must be sanded to get a perfect fit. For my application, I had to sand the bottom of the nut as well to get the fret to seat properly against the fret board. This may sound bad, but it is a good thing! It means that the folks at Stew-Mac realize (as I hope you do) that although these are precision instruments, there are many parts that are finished out by hand. The extra material allows for those minor variations and with a little work,
An inexperienced guitar tech worked on the nut of my Guild M75 Aristocrat electric and I ended up with a "sitar" sound on my high E string and a dead G string and bad intonation. A friend recommended Zero Glide and that company recommended this particular nut.
Installation was not particularly difficult for a handy guy, but took two hours and involved sanding nearly 1/8 inch off the bottom of the new nut and 1/16th plus off each side while being careful to keep it even. The video on the company website helps. Once fitted correctly you decide how big of a 'zero fret' you want. There are four of different sizes in the package. I tried them all and found that the smaller ones provide very low action at the nut (which is nice), but require a higher action up the neck to clear the first fret where the strings can rattle. I ended up using the largest fret provided as it allowed me low action where I need it. Once you have it figured out you trim the zero fret to length and glue it